The Smooth Agfa Silette LK Sensor
10 15 Share TweetMeet the ever so smooth Agfa Silette LK Sensor! This review will tell you everything there is to know about the Silette LK sensor and how to handle it to make sure that you snap super pictures!
Let’s start with a little introduction to the release system used on this camera, the sensor Agfa Sensor release system with the big red buttons.
The Sensor released with the red button works pretty well. It’s designed to counter the ever irritating camera shake problem. When you press a release button you obviously put pressure on the camera bringing it out of balance for a split second, enough to induce camera shake into your photo…even on faster shutter speeds!
The Sensor release system tries to counter this occuring problem with a smooth release button, minor pressure already releases the shutter, easy, smooth and wonderous!
First off, here’s a little manual with pictures and numbers for easy reference.
1. The big red release button
2. Light meter, align the red arrow in between the black arrows for the correct exposure
3. Hotshoe:
4. Viewfinder
5. Cable release screw hole
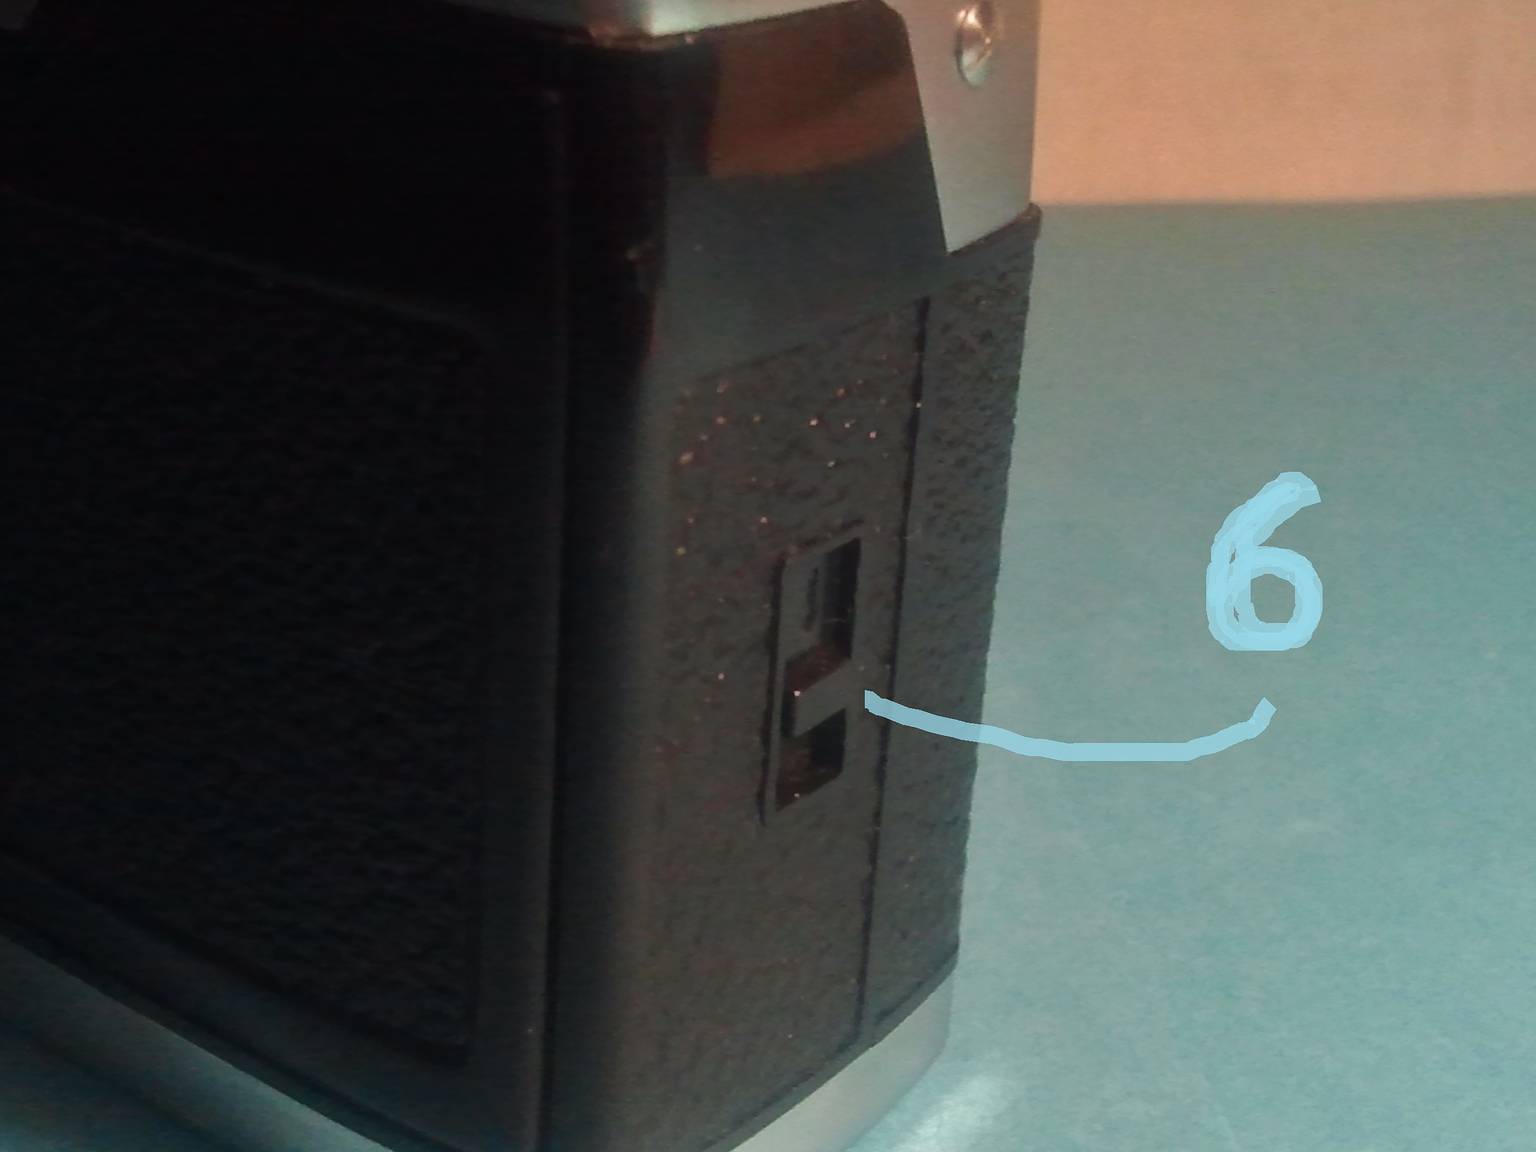
6. The back lock
7. Film spring, will pop out when you open the back
8. Tripod screwmount
9. Film counter
10. Film counter reset, screw this in the right direction to reset it
11. Wind lever, ever so smooth
12. R, for rewind
13. The ring for setting your ISO


Loading the film
Now, to load the film, you pop the back open with the switch on the right side, pulling it down opens the back and makes the spring which holds the film canister pop out!
You put your canister in the right slot and push that spring back up to lock it into place, pull out a little bit of film and put it into the left part by the arrows.
Now, close the back and wind, which is also super smooth!

One of the few drawbacks are that when you put it up to your right eye to look trough the viewfinder, you cannot wind on the film while looking trough because the winder will reach your face, but not that annoying as you can just pull your head back a little. Another one is that the film counter is on the bottom…yes, you have to turn your camera upside down to look. But that is only annoying if you find it neccessary to look more than once on the counter..
Unloading the film
Now this is a very interesting part!
I had to look the manual up for this part because it’s a little different from what I was used to.
The easy ever so smooth wind lever is used to rewind the film! Now ain’t that fancy handy…but how do you do that?
Well, you will have to face the camera upfront. Now there is the rewind knob on the left of the lens, there is a big white ‘R’ on it and an arrow. You push the button to the right and up and it automaticly locks into place.
Then, you can just use the wind lever to rewind! Woohoo, so easy!
Do not forget to reset the filmcounter afterwards, you can do that with the button next to the counter, put something in the slot and turn it back.
The top and lens of the camera
On the top we have in the right corner the red Sensor release button, next to it is the light meter and on the left is the hotshoe on wich we can use whatever flash you can find!
On the lens we find our Aperture, shutter speed and distance rings.
Your distance goes from 1m to 20 and then infinity.
The shutter speeds are B-30, 60, 125 and 300.
The Aperture goes from 2.8 till 22, quite the nice range.
Setting the camera
You set your distance then you read the light meter. To align it correctly, you set either your preferred shutter speed or aperture, then you move one or the other to get the red stripe between the arrows so that the exposure is good!
A wondereous thing about the camera is that it has the lightmeter displayed in the top of the viewfinder!
But what about the ISO setting? Right, that ring is on the bottom side between the aperture and shutter speed rings. So, turn that camera upside-down.
DIN is on the left, ASA (ISO) is on the right and in the middle you find a metal piece sticking out. This has a v-cut so that you can put your fingernail in between for easy adjusting. Put some pressure on it with that finger on and turn whatever side to allign the numbers with the arrows.
It ranges from 25 to 400 with steps in between, 50, 100, 200 and in between every two stops are two dots so that you can adjust to the correct ISO if it is in between.
This camera was a total surprise to me and I had never seen the system with which this camera works.
The lightmeter in the viewfinder, the smooth wind and release are so wonderful to work with! The hotshoe takes every flash; I use the Diana F+ flash on this camera.
If you shoot from your hand the camera takes pretty sharp pics due to the almost pressureless release. If you want even sharper images you just set up a tripod and use a cable release.

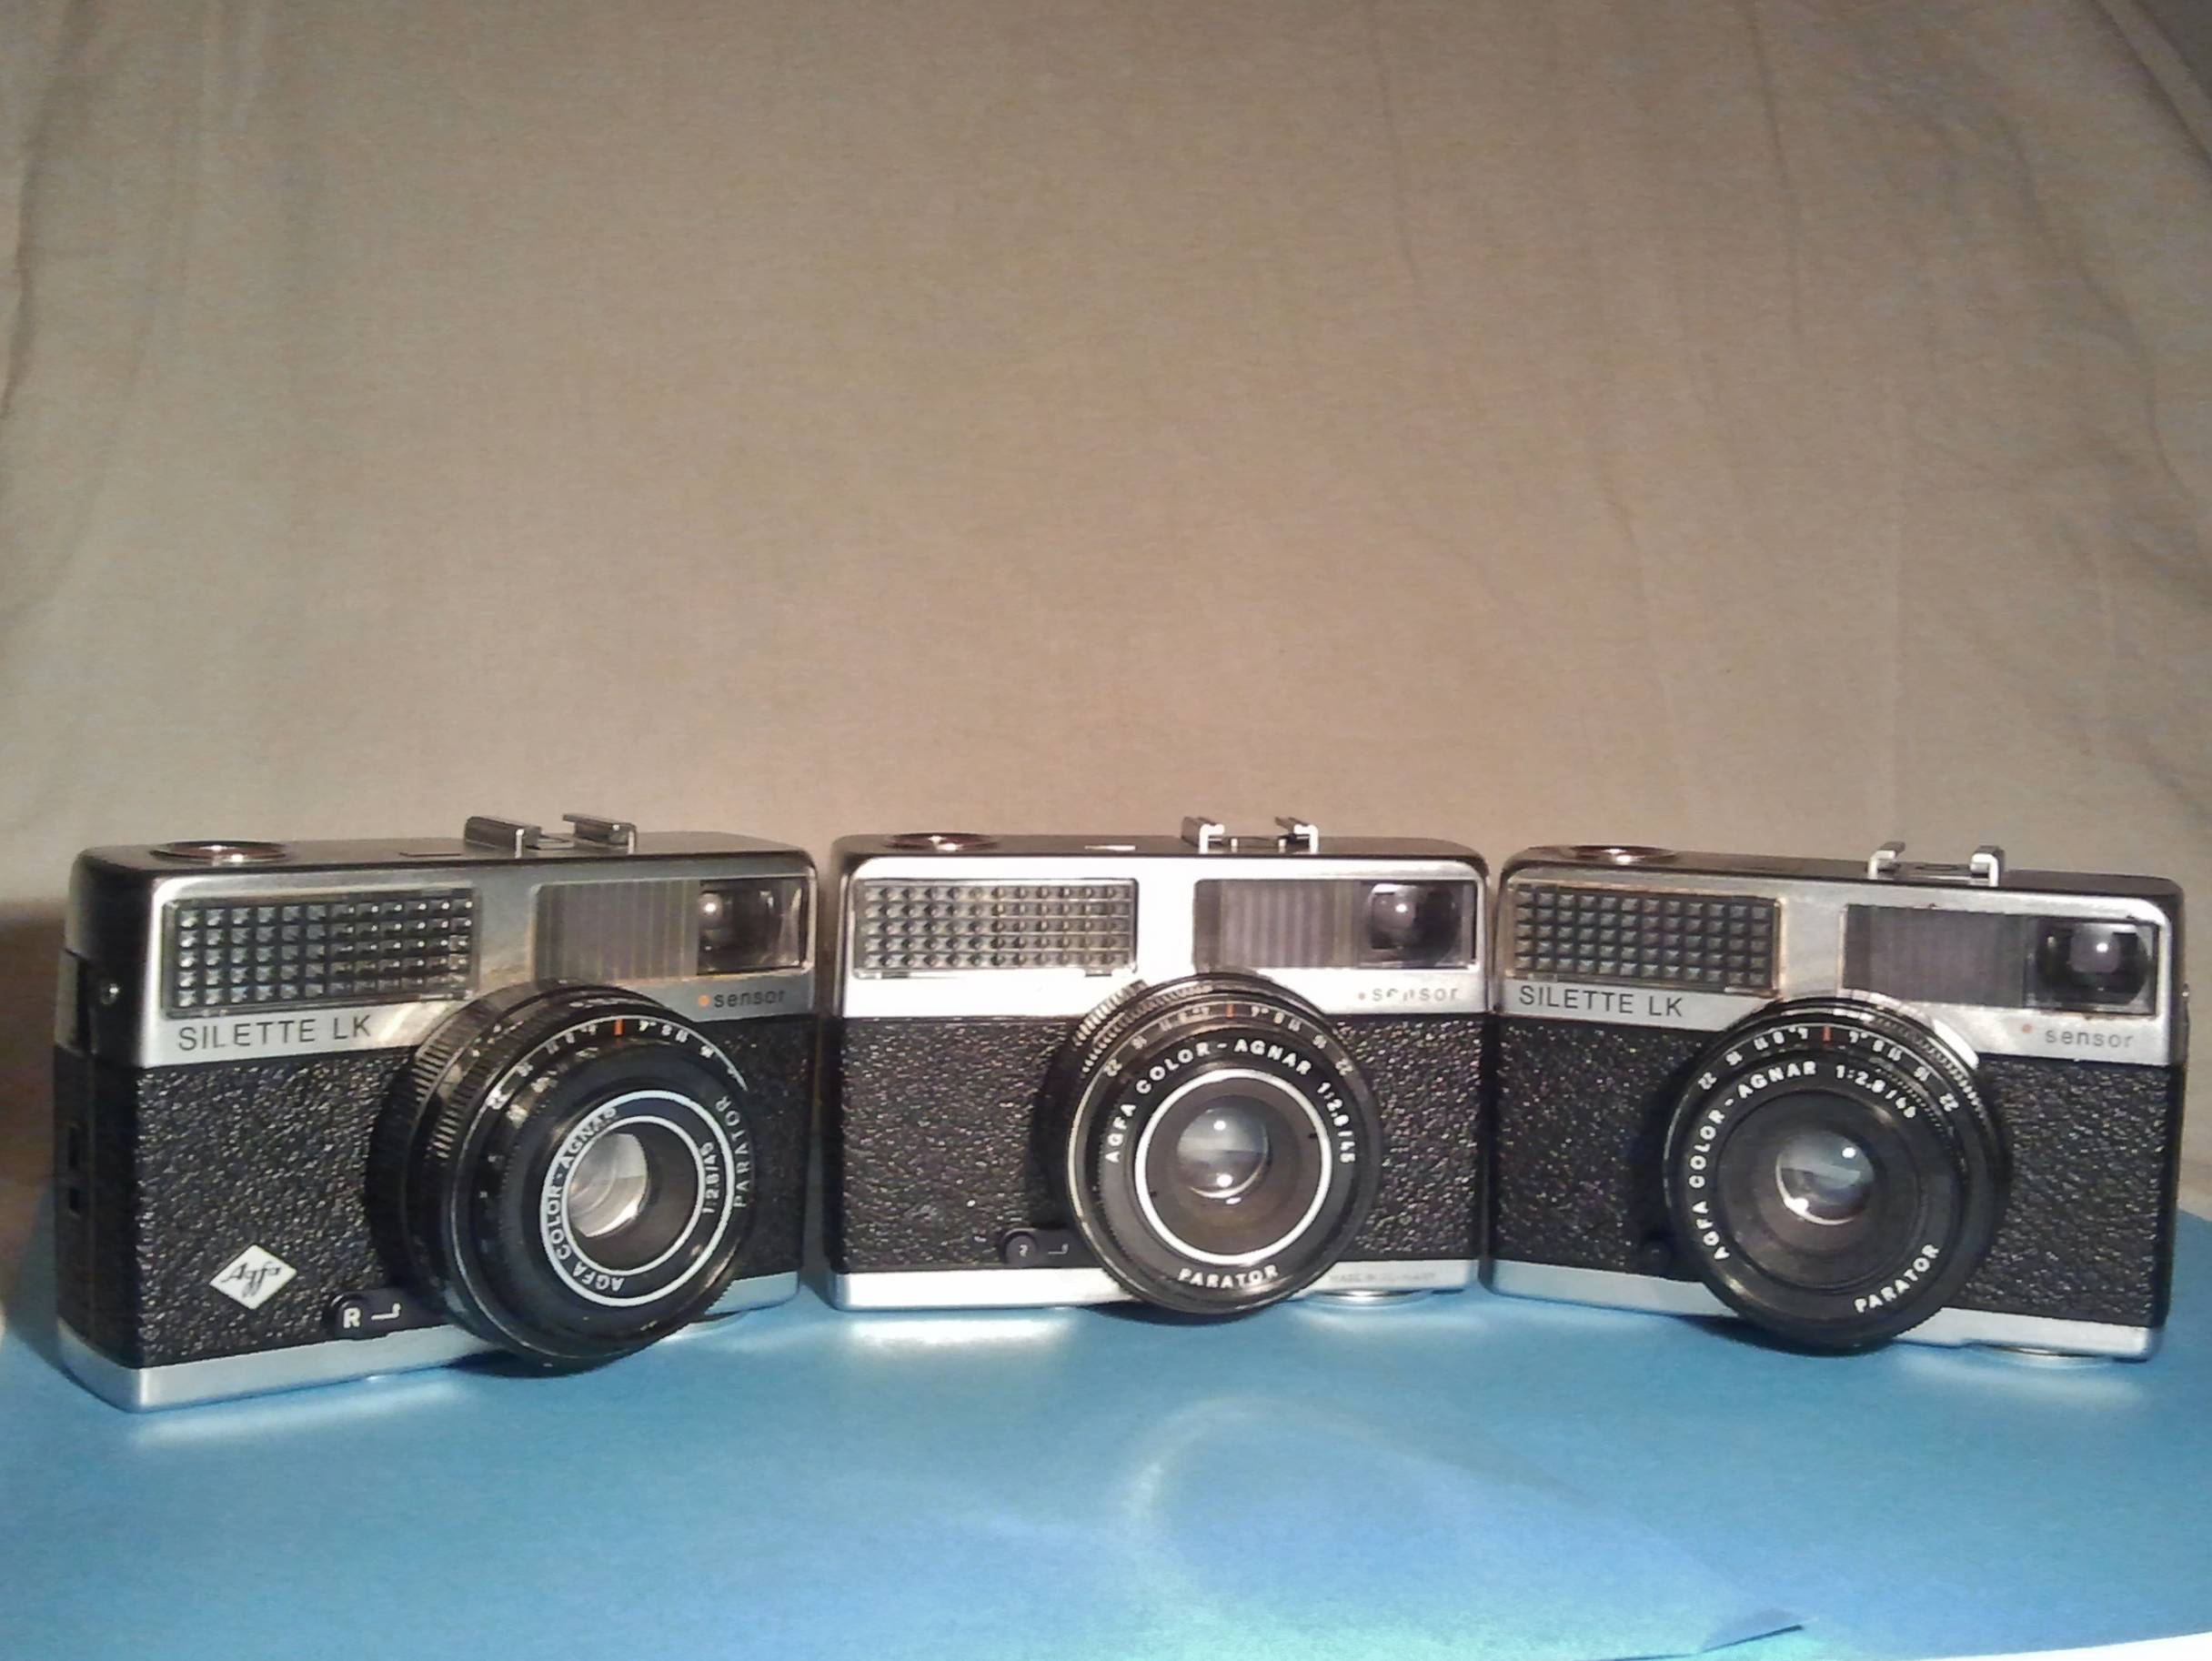
I bought this camera in a set of 5 cameras and when I received them, I found out that 2 were the same and 1 camera was packed in black tape…
Turns out that they were all three Agfa Sillete LK Sensors! The man must have loved that camera, his first one was so beat up that he had to pack it up in tape because it would otherwise fall apart. Looking at the printing gave away which one was the newest of the other two. He actually bought the camera over and over again. If that ain’t love, then I don’t know what it is!
And I actually advise you camera lovers to pick it up if you come across one of these; the easy handling makes it a perfect companion for most trips!


And here are some more snapshots taken with this beautiful machine:


Some further tips:
A good tip is to open up the left compartment to check for dust, if so, you should blow it out, of course!

New roll of film with a different ISO? Set the ISO just before loading to make sure you don’t forget to set it right!
If you take pictures of children, try to do it from their level or lower. Or else, you’ll get photos of the tops of their heads. Not quite fancy, is it?
Framing your photographs makes them better. Try to make use of the environment, overhanging branches, doorways, windowframework or lines on the road, patterns of light in the background. These things will make your pictures better, they will kind of lead your eyes into the picture and onto the focussed subject.
That’s all folks!
I hope you liked it and make sure to keep an eye out on my Lomohome!
My vacation photographs are on their way and my first tipster about repairing a broken shutter curtain of the Zenit E has been posted: Zenit E: Shutter Curtain Repairs.
This tipster comes as an addition to my earlier review on the Zenit E. This review also contains lots of handy tips and tricks and even made it to the selected articles section! Super proud of it, many thanks to all of you likers, I love you!
More reviews and tipsters are on their way, also some reports on locations I’ve visited in the past months!
Now if there are more questions feel free to ask, I don’t know everything but I keep learning everyday and so should you!
Keep it tight and lomo on!
written by reminator on 2012-07-20 #gear #35mm #agfa #review #agfa-silette #agfa-silette-lk-sensor #agfa-sensor #easy-camera


10 Comments