Make Loading Your Horizon Camera Much Easier with This Simple Tip
2 16 Share TweetDo you love taking photos with your Horizon panoramic camera, but loading the film makes you crazy? Try this tipster to make your favorite Horizon or similar swing lens camera a joy to load and shoot.

If you are like me, you love your Horizon camera but hate loading film into it. The process is complicated and requires the film to pass through an elaborate maze of rollers and gears, as well as trying to tuck the tab of the film into the take-up reel.
This simple trick will change all of that for you, making loading film into the camera a much easier task. Plus, the design itself results in much less wasted film. We do this by adding a nice leader to attach our film to, making the only task you have to do to shoot is tape the end of your new roll to the leader and advance the film to shoot.

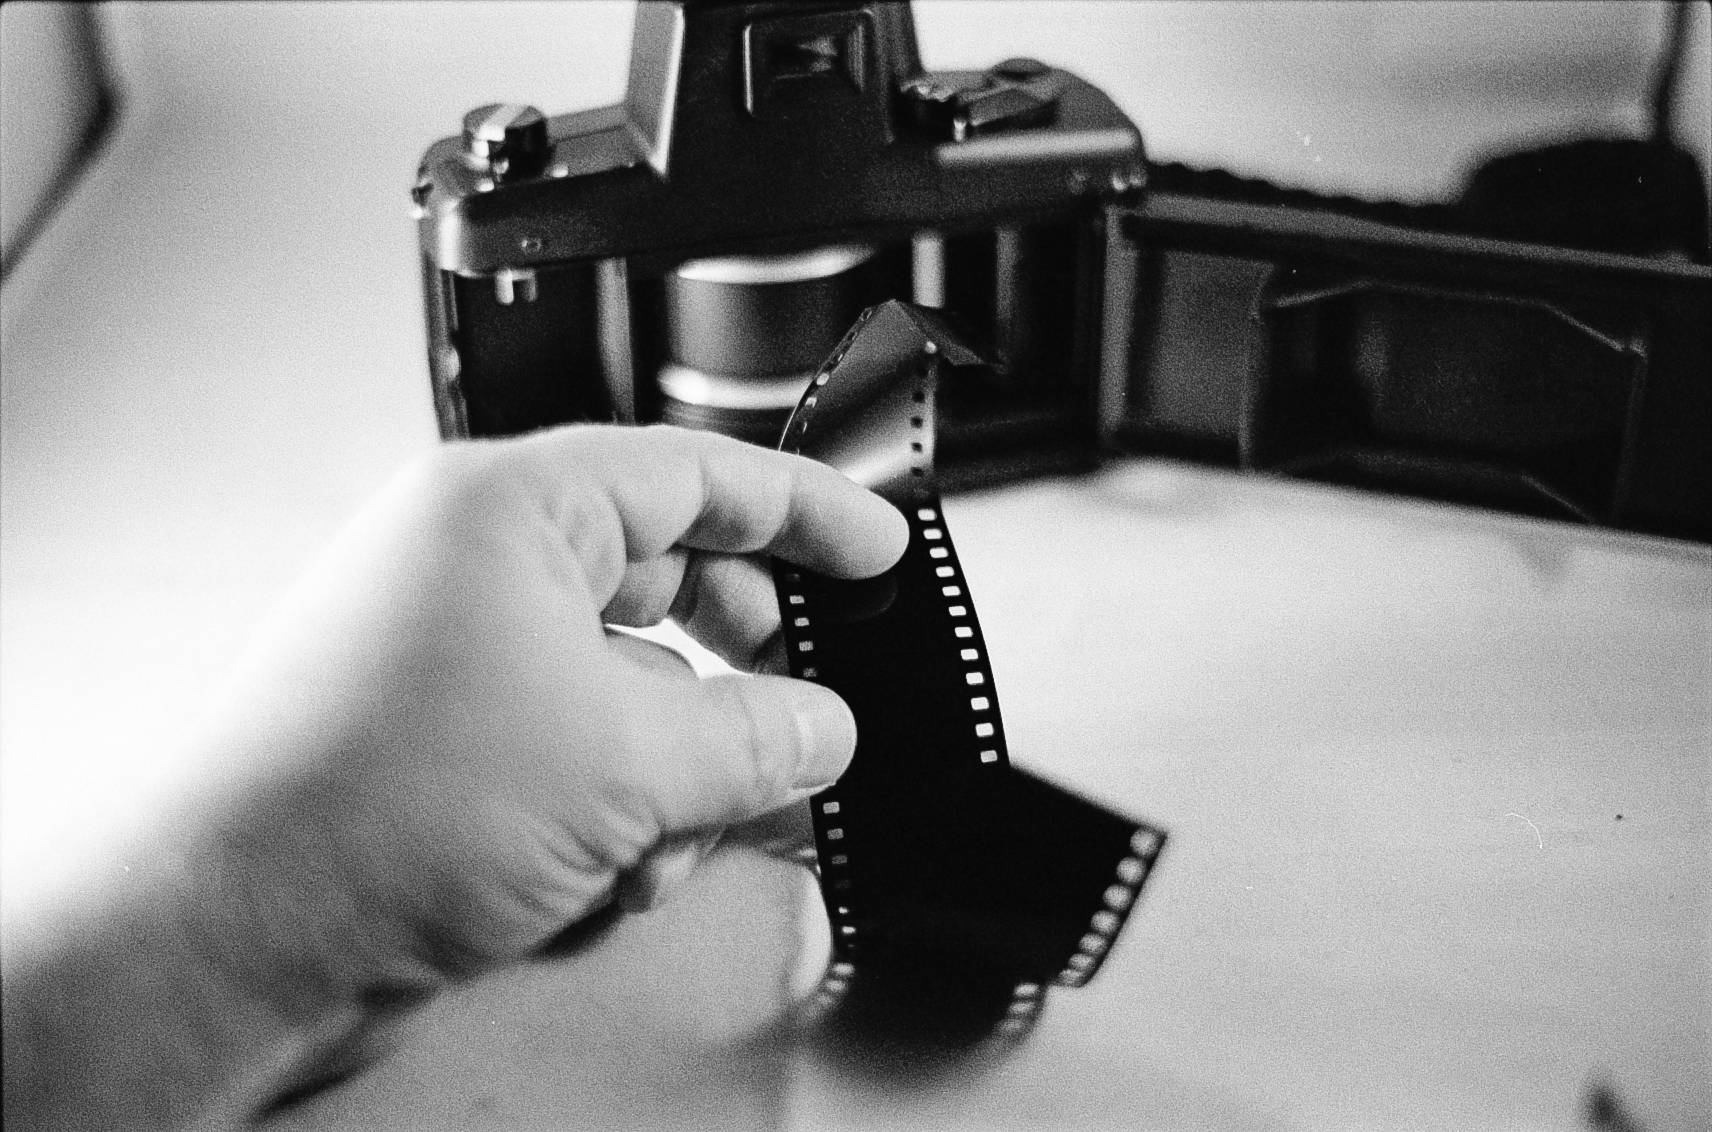
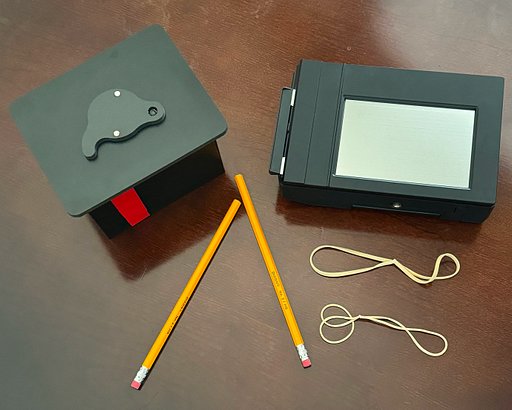
To do this, you will need your Horizon camera, a 1+ foot (30.48cm) length of leftover 35mm film with a thick base. It’s important that you use film whose base is thick enough for this, some thin tape like invisible tape or the like, scissors, and a little time.

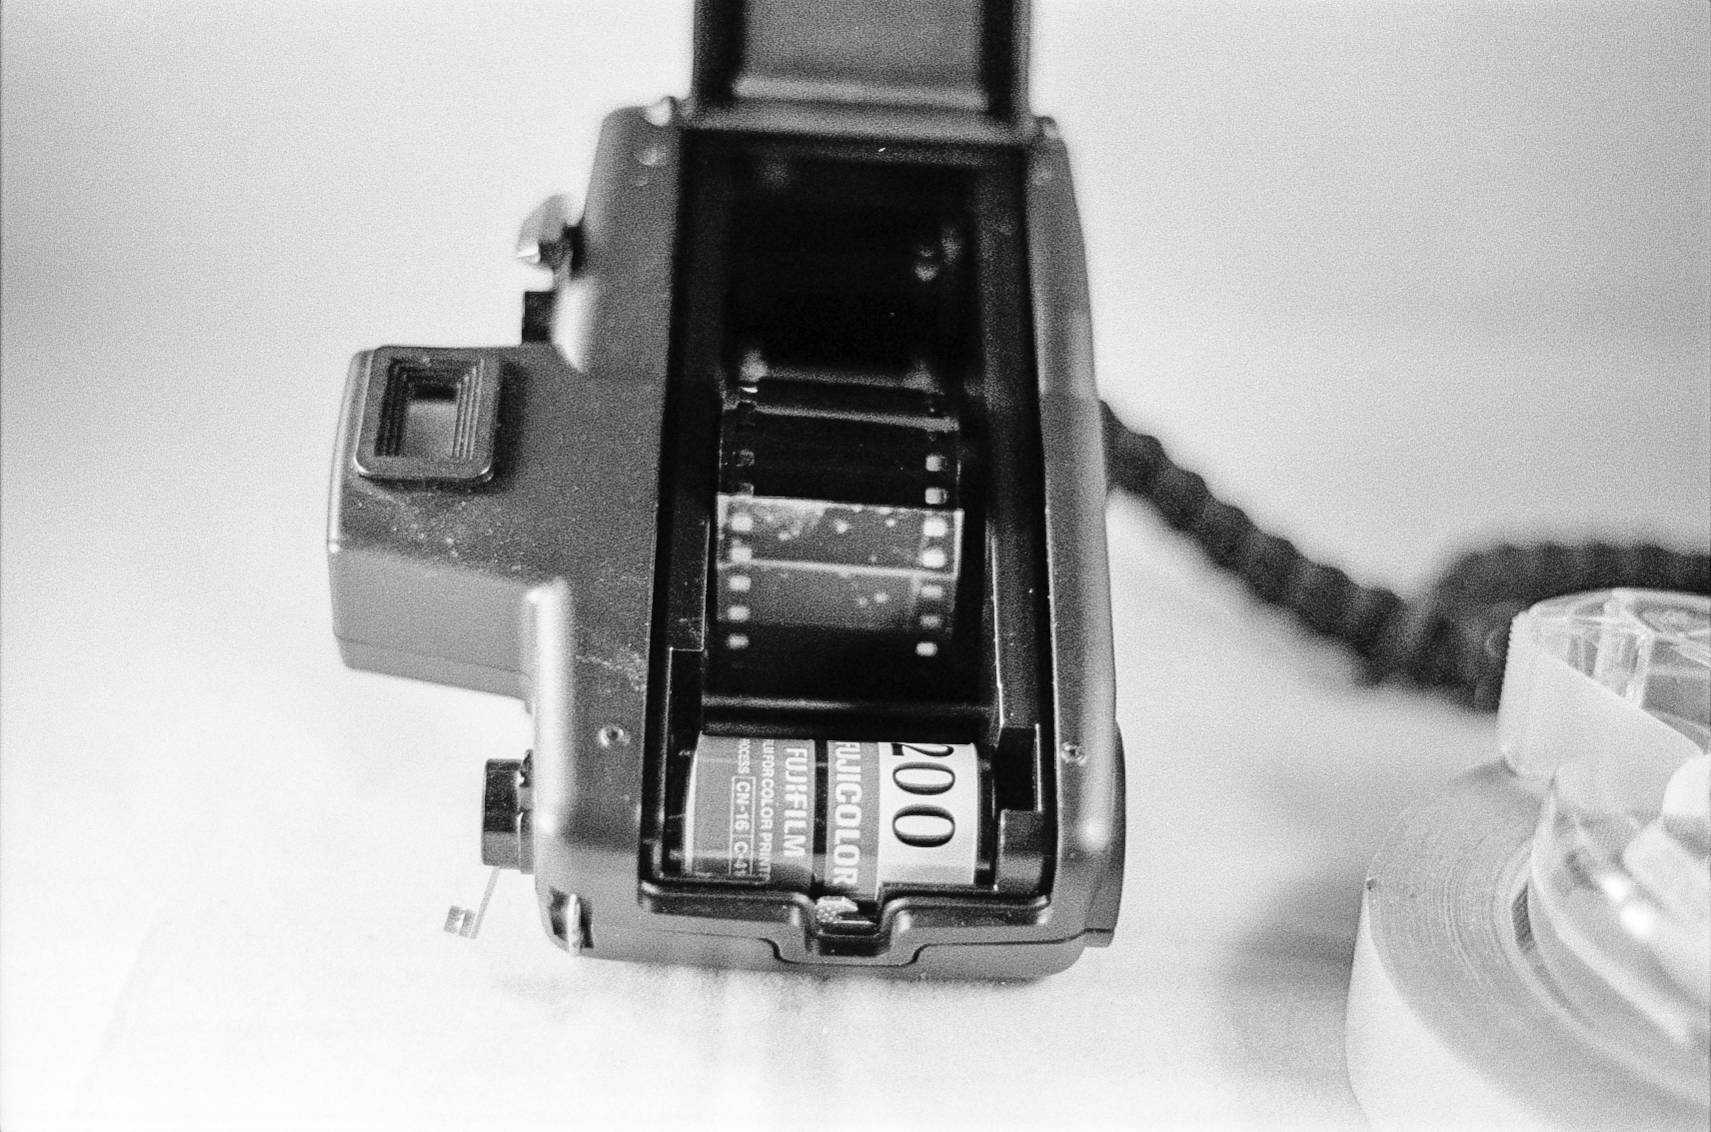
Step 1: Cut a 1 foot (30.48cm) length of your thick base film. Bend one end over slightly, and then feed this bent end facing up through the rollers on the side of the camera where you would normal feed your cassette’s leader.


Step 2: Carefully pull the film through enough that you can then tuck the bent end through the second roller on the other side. This roller is the one with the sprocket gears that pulls the film through the camera. Once you have the film under the second roll, push it as far as it will go until the end appears behind the take-up spool. You may have to hit your shutter button and advance the film a little to get enough of the bent end to work with. I suggest advancing it about 2-3" (5-7.6cm) so you have enough leader sticking out of the top that you can trim it. Also, make sure that there’s about 2-3" (5-7mm) or more sticking out on the other side where the film cassette will go. Don’t worry if you have a lot of film sticking up there; it will be trimmed down later.
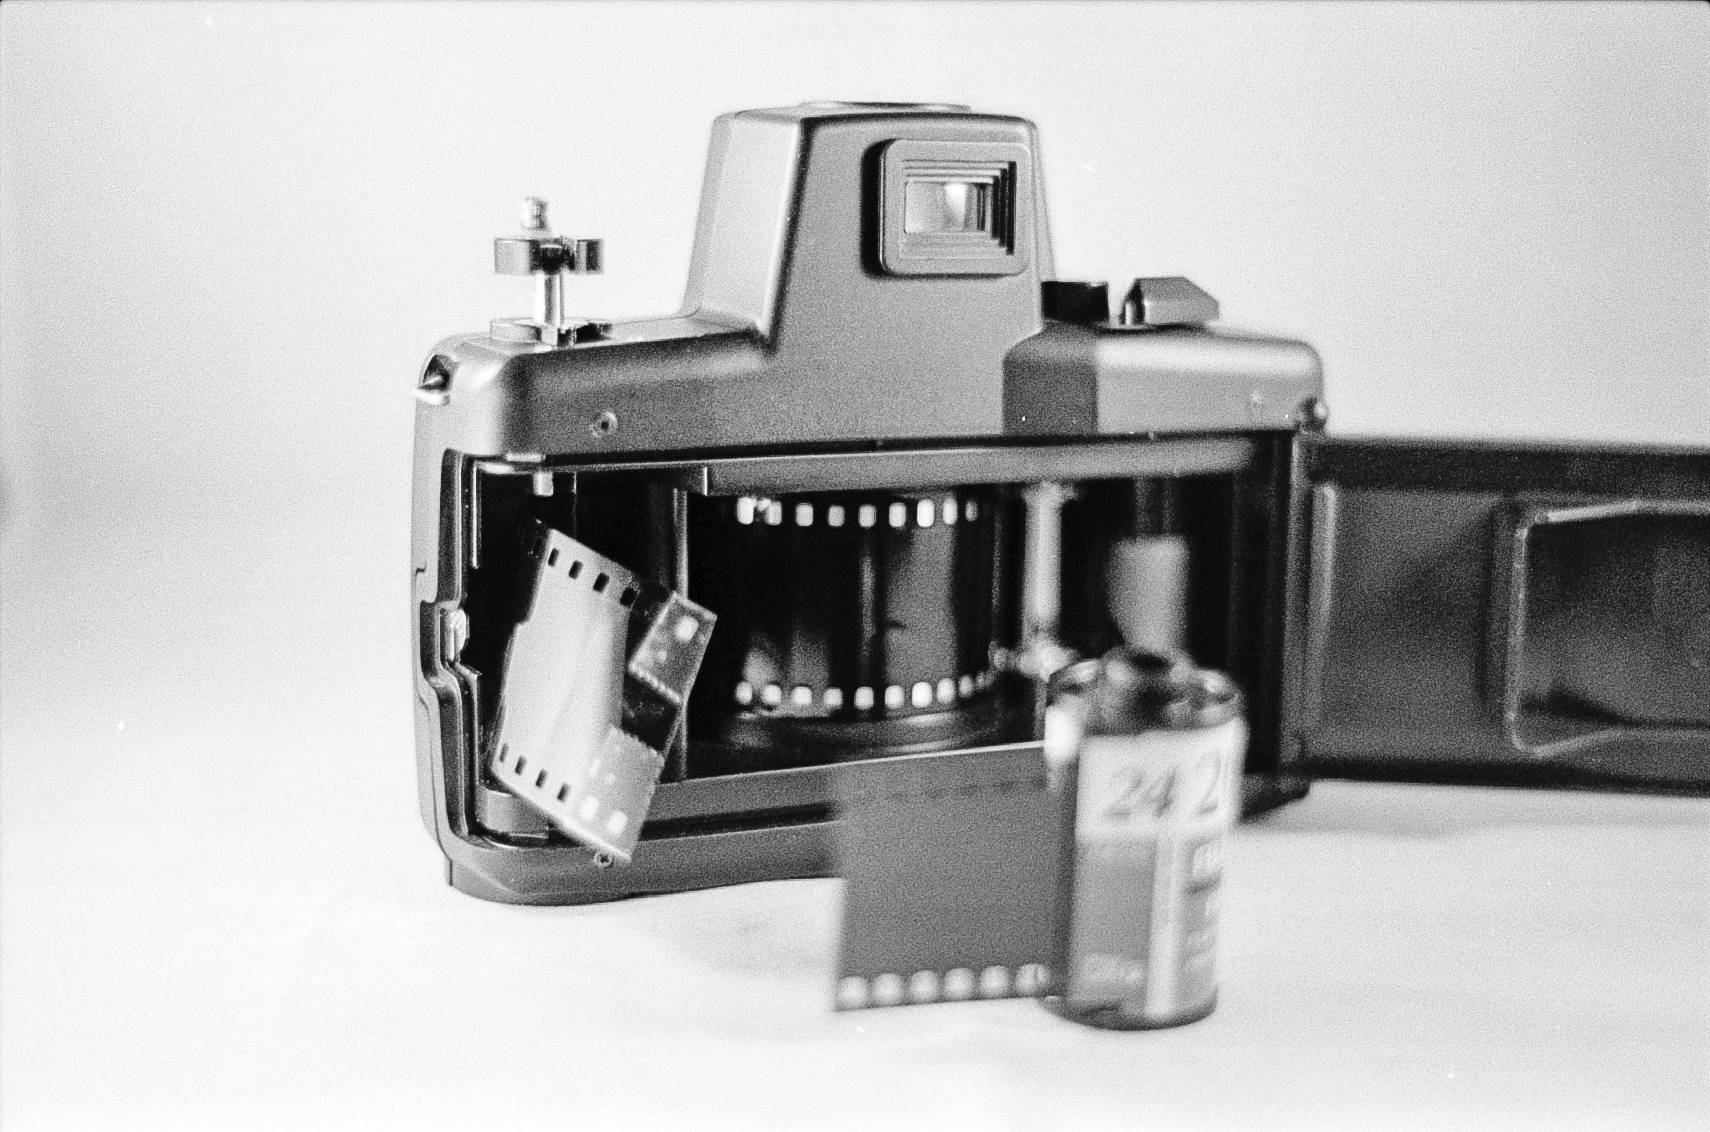
Step 3: Take a hold of the front end of the leader you left sticking out of the take-up side and neatly trim the end so that it will fit into the take-up spool’s open slot. Then, carefully bend this end over so you have a cut tab that is around .5-1" (1.27-2.5cm) in length.
Step 4: Take the bent tab from step 3 and carefully insert it into the slot on the take-up spool. Now, hold your finger on this spot so the film cannot come loose, press the camera’s rewind release button on the bottom of the camera, and then very gently pull the other end of the film sticking out on the feed side until it’s pulled tight and the film has no slack from the take-up spool, going back through the sprocket gears, over the curved film plane and under the feed side. Now, put a small piece of tape onto the film that is in the take-up spool, making sure to get enough tape on the film itself and the take-up spool. This should hold our new leader in place nicely.


*Note: If you wish, you can also tape the other side of this film and spool as well so it does not come off easily. Doing this requires you to press the film rewind button and carefully pull the leader until the back side of the film where there is no tape at is exposed. Tape well but keep in mind that more tape means your take-up spool will have a thicker diameter when you advance film through the camera.
Step 5: Take a hold of the extra film sticking out of the film cassette/feed side and ensure it’s nice and snug and your tape is holding well. Then, clip off the end of the film to that you have enough leader sticking out that you can attach each roll of film you shoot to, but not so much as to make it difficult to access the end of this new leader. If you want to simplify things a little, leave more leader on the cassette side for later.


At this point, you now have a pre-installed leader, hopefully with thicker emulsion for tear resistance when you hit the end of your roll of film when shooting.
Step 6: Attach your first roll of film to the new leader. I like to just lay the roll of source film’s leader over the top of the end of the new leader, and tape it with transparent tape. Make sure that you align the sprocket holes, and there are no edges that can snag on anything. Any tape will work as long as it’s not thick. Scotch tape, Washi tape, or similar thin transparent tape works nicely for this. Make sure to poke out any sprocket holes that are covered by this tape. I would avoid Painters tape, duct tape, masking tape, or any kind of tape that has a thicker base and can become sticky and gum up your film path and rollers. I use standard invisible tape for this kind of thing and it’s much less intrusive.


The idea here is to make sure your roll of film is attached to the new leader well and it won’t snag on anything when you advance your film forward. You also want to make sure that you can easily remove or un-tape this end when changing rolls. I like to leave an extra 2-3" on my leader and just cut the taped ends and tape the next roll onto what’s left. But you can also remove the tape and re-tape the next roll if you want. Or even tape just the middle of the film on both sides carefully, not covering the sprocket holes, and then this can be easily peeled apart after exposing.

Step 7: Now, let’s advance the new leader carefully until our newly attached film makes it successfully past the first rollers, then put the film cassette down into the camera like you would normally and advance enough to take up any slack. You want to get the new connected ends to be between the first rollers and the sprocket roller. Use the film rewind lever to take up slack as needed, then continue advancing the film until it’s just past the sprocket roller. Then you can close the camera back and advance the film 1-2 frames.


Now you should have a roll of film loaded and ready to shoot. And you will not have wasted several frames doing so.
Next comes the fun part: shooting the roll. Be careful when you reach the end of the roll so you don’t rip the film you are shooting. When you are done shooting, rewind until you feel resistance due to the taped together ends passing through the 2 sides rollers. Open the back and you if you rewound it correctly, the old leader should be near or in the source film cassette, and it’s other end should still be safely taped to the tape up spool on the other side.
Pull enough of the leader out so you can un-tape the two pieces of film, leaving that leader in place for the next roll. Then load your next roll the same way, by taping the end onto the leader we made.
If done correctly, you should only have to tape the ends together, advance a little, and shoot for each new roll.

I like to recheck the leaders tape before I load a fresh roll. I figure this eliminates about 1-3 minutes of load time, saves you several frames of film, and makes loading a much easier process.
I suggest that you only use this technique with rolls of 24 exposures or less, to avoid having too much film in the take-up side that might cause jams. And when not in use, the new leader can just be folded over under the lid so it’s in the camera and ready to be used again later.


Enjoy your new leader and the ease it brings to loading film into your swing lens camera!
written by alienmeatsack on 2014-12-10 #gear #tutorials #35mm #kiev #tape #tipster #lomography #horizon-kompakt #horizon-perfekt #horizon-202 #swing-lens #widelux #kievusa


2 Comments