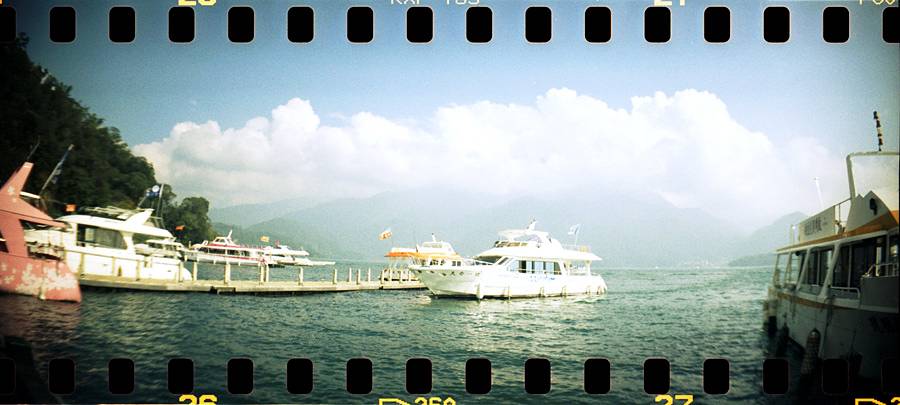
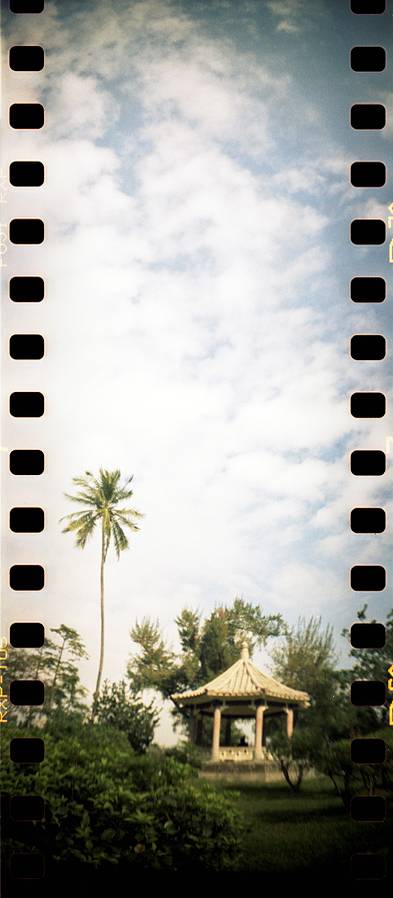
Sprocket Rocket as a Travel Companion
6 20 Share TweetIt was a little too late to try out my new Sprocket Rocket as it arrived only a couple of days before my vacation. I decided to take a risk and make it my main camera during my 1 week trip to Taiwan and …

The Sprocket Rocket seemed a little too big (compared to my usual travel camera … the LC-A+) but still I managed to fit it into my empty cargo pants pocket. Being a lazy (and busy) person, I skipped the instruction manual and proceed to load a roll of film into it. Loading film is easy as long as you remember to turn the advance wheel until you see the white dot on top of the camera.

After loading and covering the back, turn the wheel again until you see the white dot again. You are then ready to zoom off with the rocket!

Using ISO400 film is the ‘safest’ way to go about having fun. Should the lighting be bad … just do a double/multi exposure and it should all be well. Double/multi exposures are easy to do with the Rocket. Just fire away (multiple times) before advancing to the next frame (by turning the advance wheel til you see the friendly white dot again). If you accidentally advanced the frame before shooting the 2nd exposure … worry not. You can just turn the rewind wheel until you see the white dot again. This will bring you back to the previous frame. Easy isn’t it?


The focus distance setting is very easily accessible. You do not have to look at the front of the lens barrel (like in a Diana). A quick look at the top of the lens barrel and you’ll find the 2 distance settings … turn it left or right depending on the distance between the Rocket and the subject (Rocket … subject … they rhyme!).
Occasionally slap on the Lomo Colorsplash flash for some extra dose of fun (and color)!

written by ndroo on 2010-12-06 #gear #travel #fun #review #taiwan #family #panoramic #sprockets #wide #rocket #provia #fujifilm #400x #user-review #sprocket-rocket


6 Comments